
 |
| Chicken & Charsiew rice set lunch |

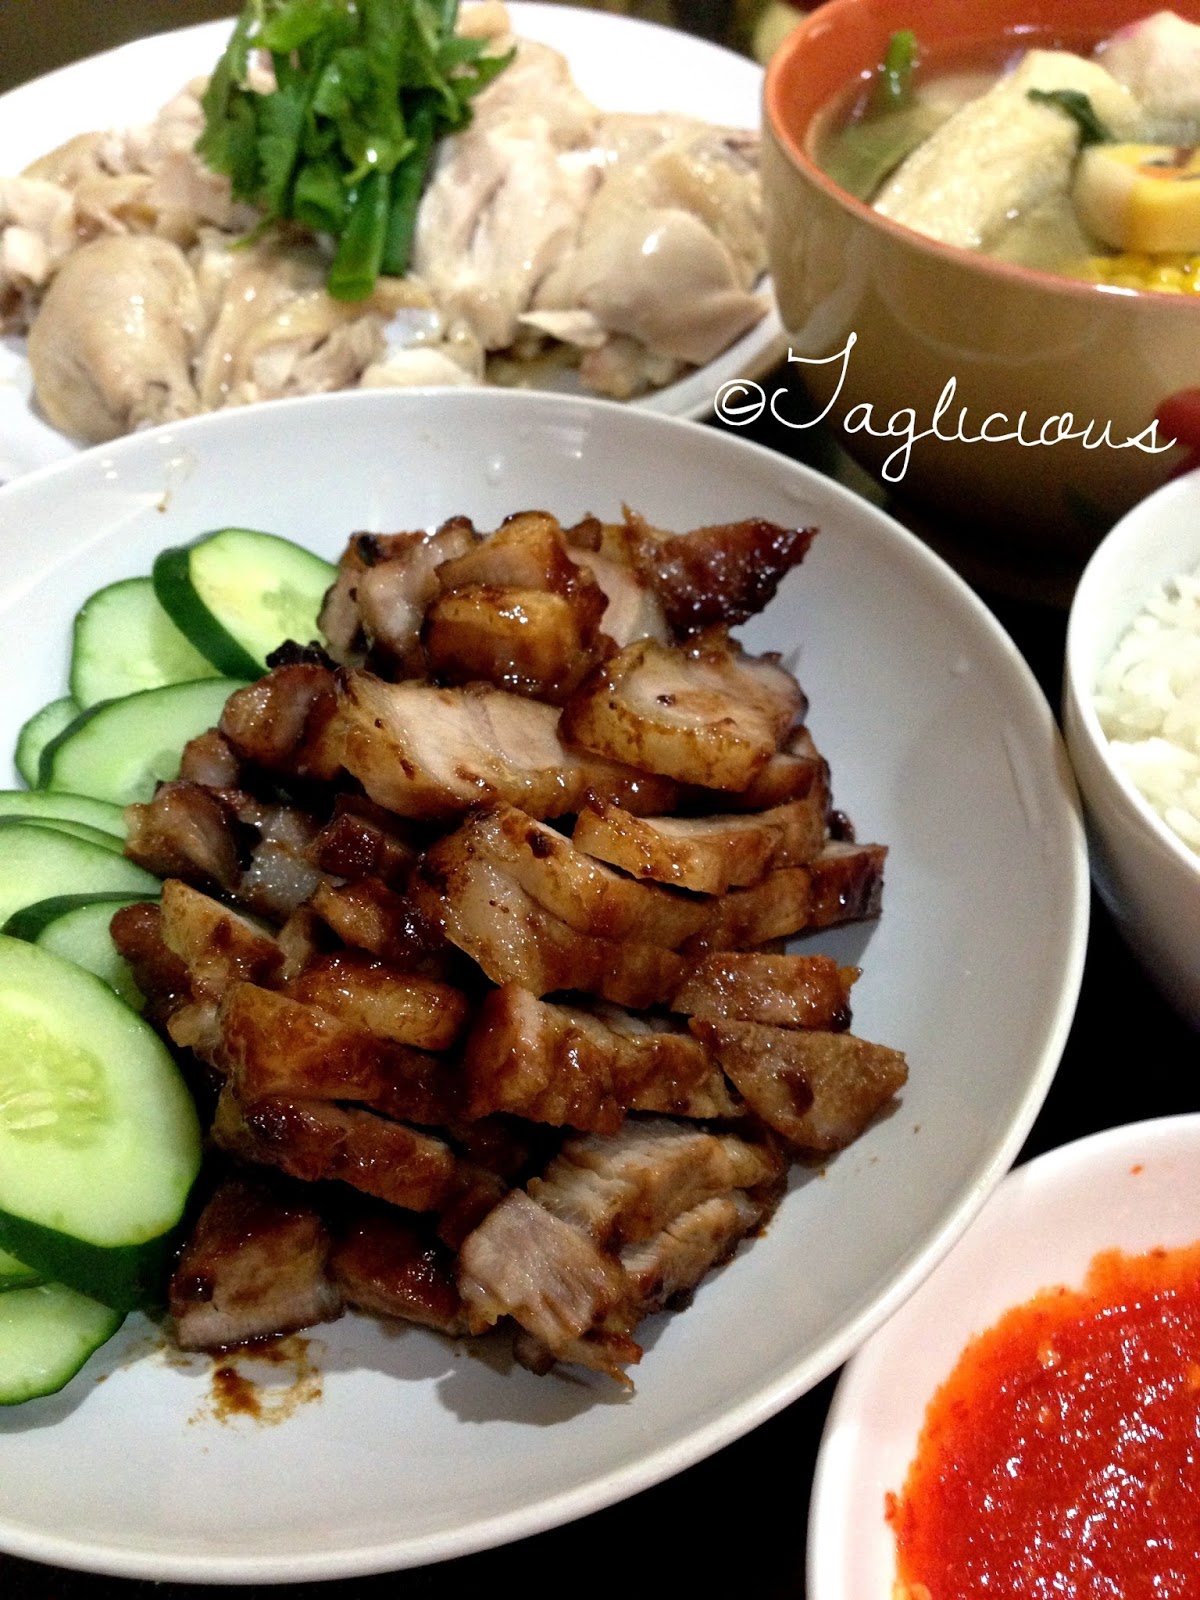
Hainanese Chicken Rice
For 4 pax

Ingredients for the chicken
- 1.3-1.5kg of whole chicken
- 1 stalk of spring onion
- Ginger, slices
- Some salt, to rub on the chicken skin after cooked
- Coriander leaves and spring onions, for garnish
Ingredients for the sauce to pour over the chicken
- 1 tablespoon of soya sauce
- 1 teaspoon of sesame oil, add more if you love sesame oil
- 3 tablespoon of chicken broth, from the soup that use to cook the chicken
Steps:
- Prepare a pot of water that enough to cover the whole chicken.
- Add in the spring onions and ginger, then the chicken.
- Bring the water to boil and then simmer under low fire for 40 mins and off the fire. At the same time, I will keep skimming away the scum & oil that forms on the surface so that you will have a clear soup.
- Bring out the chicken from the pot and rub in some salt on the skin. It is hot, be careful, don't burn ur hands.
- Let the chicken cool down before slicing.
- Mix the sauce for the chicken in a small bowl and pour on the sliced chicken and garnish with spring onions & coriander leaves.
- Do not throw away the soup left in the pot, it can use as broth for soup & rice.
Ingredient for rice
- 2 cups of Thai fragrant rice
- Chicken broth, enough for cooking the rice (Follow your rice cooker marking)
- 1.5 teaspoon of non MSG chicken powder
- Salt, to taste
- 3 pcs of pandan leave, tie a knot
- 1 stalk of spring onions
- 3 slices of ginger
Steps
- Washed the rice and add in the broth in the rice cooker.
- Add in the chicken powder, salt and mix well.
- Lastly add in the pandan leaves, spring onions & ginger slices and activate your rice cooker to start cooking.
Ingredient for Chicken soup
- Baby Spinach, you can change to your preferred veggies
- Fish balls
- Carrot & Corns
Steps:
- Put everything except the green vegetable in the broth left in the pot and boil it for 20mins.
- Last to add in the baby spinach and boil it till it cooked.
- Ready to serve.
Ingredient for Ginger Chilli for Chicken Rice
- 6 pcs of big red chilli, remove the seeds and cut into small pcs
- 6 cloves of garlic, skinned
- 1 inches of ginger
- 5 limes, juiced
- 4 tablespoon of chicken broth
- Some sugar and salt, to taste
Steps
- Blend the chilli, garlic, ginger till fine.
- Add in the lime juice, chicken broth and mix well
- Add in the sugar and salt to taste
Hope you enjoy my posting today. Happy cooking for your family!
Do join me at my Facebook page Taglicious


.jpeg)


